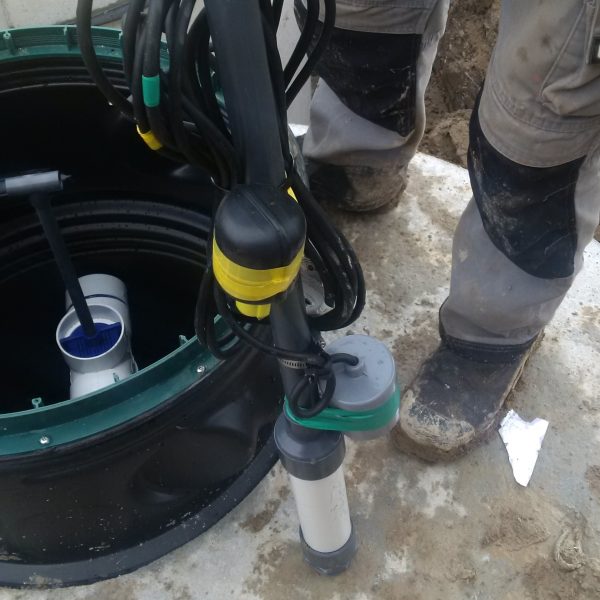
First of all, take a deep breath. Many septic issues that seem catastrophic at first can turn out to be a simple septic system repair. You may even be able to perform some of these steps yourself! These instructions aim to guide you in the right direction and help you get your drains flowing again in short order.
Start with the Septic Tank
Step 1 – Locate the Septic Tank
See “How to Locate My Septic Tank” for detailed instructions.
In some cases, the location of the septic tank is obvious because of a tank lid collapse. If this happens, the tank will likely require repair or replacement. Unless the collapse was caused by external mechanical forces (e.g., a vehicle driving over it), repairs are often not cost-effective. This is because septic gases are corrosive to older pre-cast concrete tanks, and a collapsed lid usually indicates poor overall tank condition above the waterline.
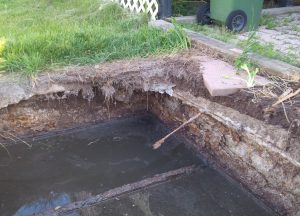
Many older tanks are also undersized by today’s standards and may lack an effluent filter or risers to grade. In most cases, replacement is more cost-effective than repairing or upgrading an existing septic tank. Site conditions and accessibility may influence this decision.
Important: Never enter a septic or wastewater tank to repair it. Septic tanks may contain poisonous gases and are considered confined spaces under Ontario law.
Step 2 – Expose and Open the Septic Tank
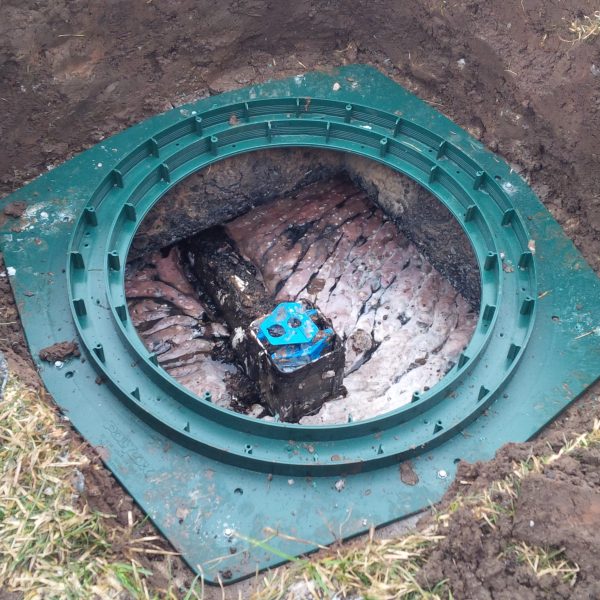
Once you’ve identified the septic tank lids, expose and open them. Typically, there should be two lids. Use appropriate personal protective equipment (PPE) and exercise caution, as raw sewage is inside the tank. If your system has more than two lids, open only the first two for now (those closest to the house). Step back and allow the odor to dissipate.
Step 3 – Observe the Liquid Level in the Septic Tank
When opening the tank, many people are alarmed to see it is full. Don’t panic—a septic tank is designed to operate in a nearly full condition. Here’s how to determine if the liquid level is normal:
- If liquid overflows or seeps out before opening the lid fully, pump the septic tank to gather more useful information.
- If the tank is mostly full but not overflowing, make further observations.
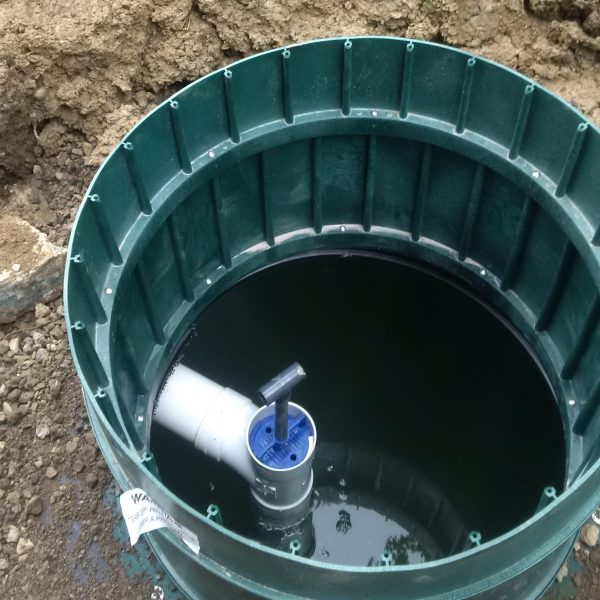
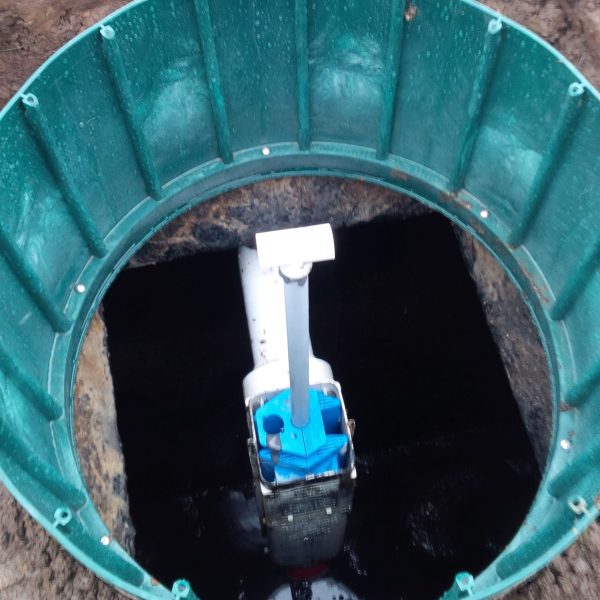
Look for the inlet and outlet baffles or an effluent filter. If the tank is old or poorly maintained, these components may be broken or submerged. If the liquid level is above the inlet/outlet baffles or effluent filter, the tank is too full and should be pumped to proceed.
Key Point: In a properly operating tank, the liquid level should rest at the bottom pipe that drains the effluent filter or outlet baffle.
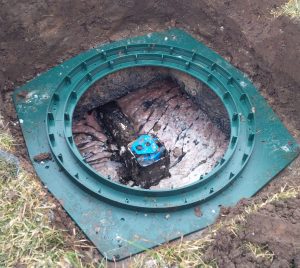
Step 4 – Observe the baffles and septic lateral
- Remember: After clearing the inlet with vacuum, run water down each drain to refill the building’s P-traps, as suction may pull the water out.
Effluent Filter Maintenance
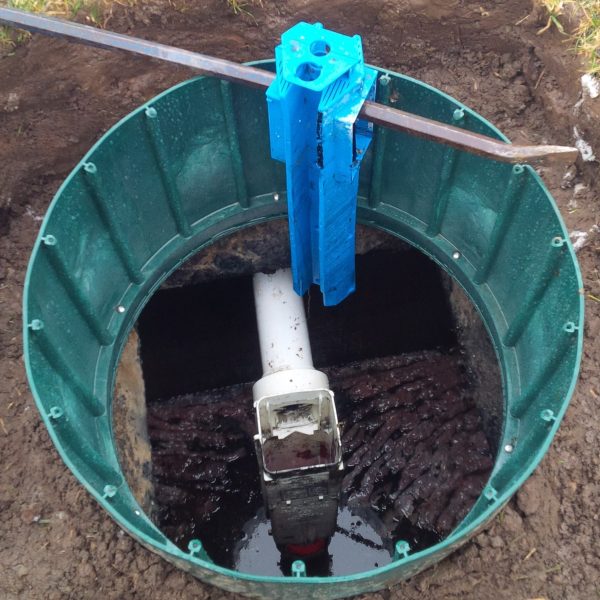
Effluent filters, found on the outlet side of many tanks, prevent solids from reaching the leaching bed. These filters require cleaning 1-2 times per year. If the filter is underwater, it is likely blocked and should not be removed until the tank is pumped.
Important: Removing a submerged filter can cause a sudden surge of untreated wastewater to the leaching bed, carrying grease and solids that may clog it.
Step 5 – Pump the Septic Tank and Observe
Even if the liquid level is proper, pumping the tank is a cost-effective preventative measure and will make the following steps easier. Pumping the tank also allows you to gather additional information:
- Short-duration backflow suggests nearby blockages, which are often repairable.
- Continuous backflow indicates a saturated leaching bed, requiring major repair or replacement.
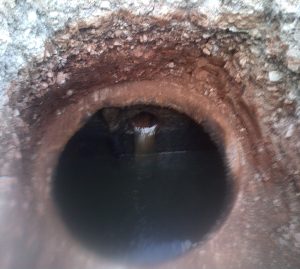
Reminder: Pumping the tank provides temporary relief but does not resolve systemic issues, such as a failing leaching bed.
Conclusion
If troubleshooting reveals a plumbing problem within the house, contact a plumber. If the issue involves the septic system, consider consulting a professional for long-term solutions, such as repairing or replacing the leaching bed. Regular maintenance, including pumping, effluent filter cleaning, and proper waste disposal, is key to preventing future problems.
